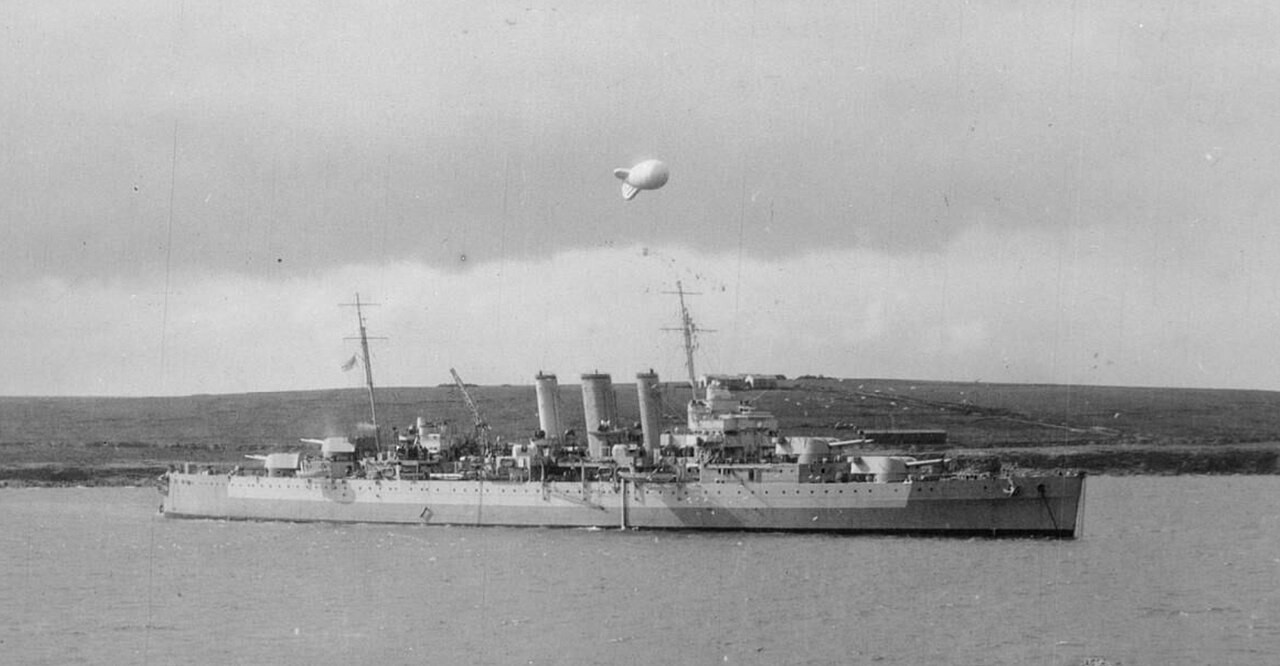


Joining the concentration
Somerville’s account places Dorsetshire approaching from the south-west after leaving convoy SL 74 on 26 May. Her arrival illustrates the wider effort to bring available ships into the pursuit while other duties continued across the Atlantic. B04
Tovey records Dorsetshire firing during the final action. His account places her on the opposite side of Bismarck from the British battleships for part of the engagement, one contributor to a combined bombardment whose individual effects were difficult to separate. B11
Closing with torpedoes
As fuel pressure forced King George V and Rodney to leave, Tovey ordered ships with torpedoes to use them. He records that Dorsetshire had anticipated the order and attacked Bismarck from both sides at close range. B11
That establishes the cruiser’s attack within the final sequence. It does not establish a unique cause of sinking or reconstruct the flooding inside Bismarck. Torpedo damage, earlier battle damage and the evidence for scuttling must be considered together in The Final Battle.
Rescue under an alarm
Dorsetshire and Maori then took men from the sea. Tovey says the rescue ended after Dorsetshire sighted an object that might have been a submarine. The report records the perceived danger; it does not confirm the object’s identity or prove that a submarine was attacking the rescuers. B11
The survivor totals also require care. Tovey lists 79 people recovered by Dorsetshire. A later named compilation gives 86 picked up alive and records Gerhard Lüttich’s subsequent death aboard. These figures describe different accounts and, in the latter case, distinguish rescue from survival afterwards. The compilation has not replaced an original rescue return. B11 B26
Rescue and Remembrance compares the accounts in more detail. The cruiser’s role includes both an attack on an enemy ship and an incomplete effort to save enemy sailors.