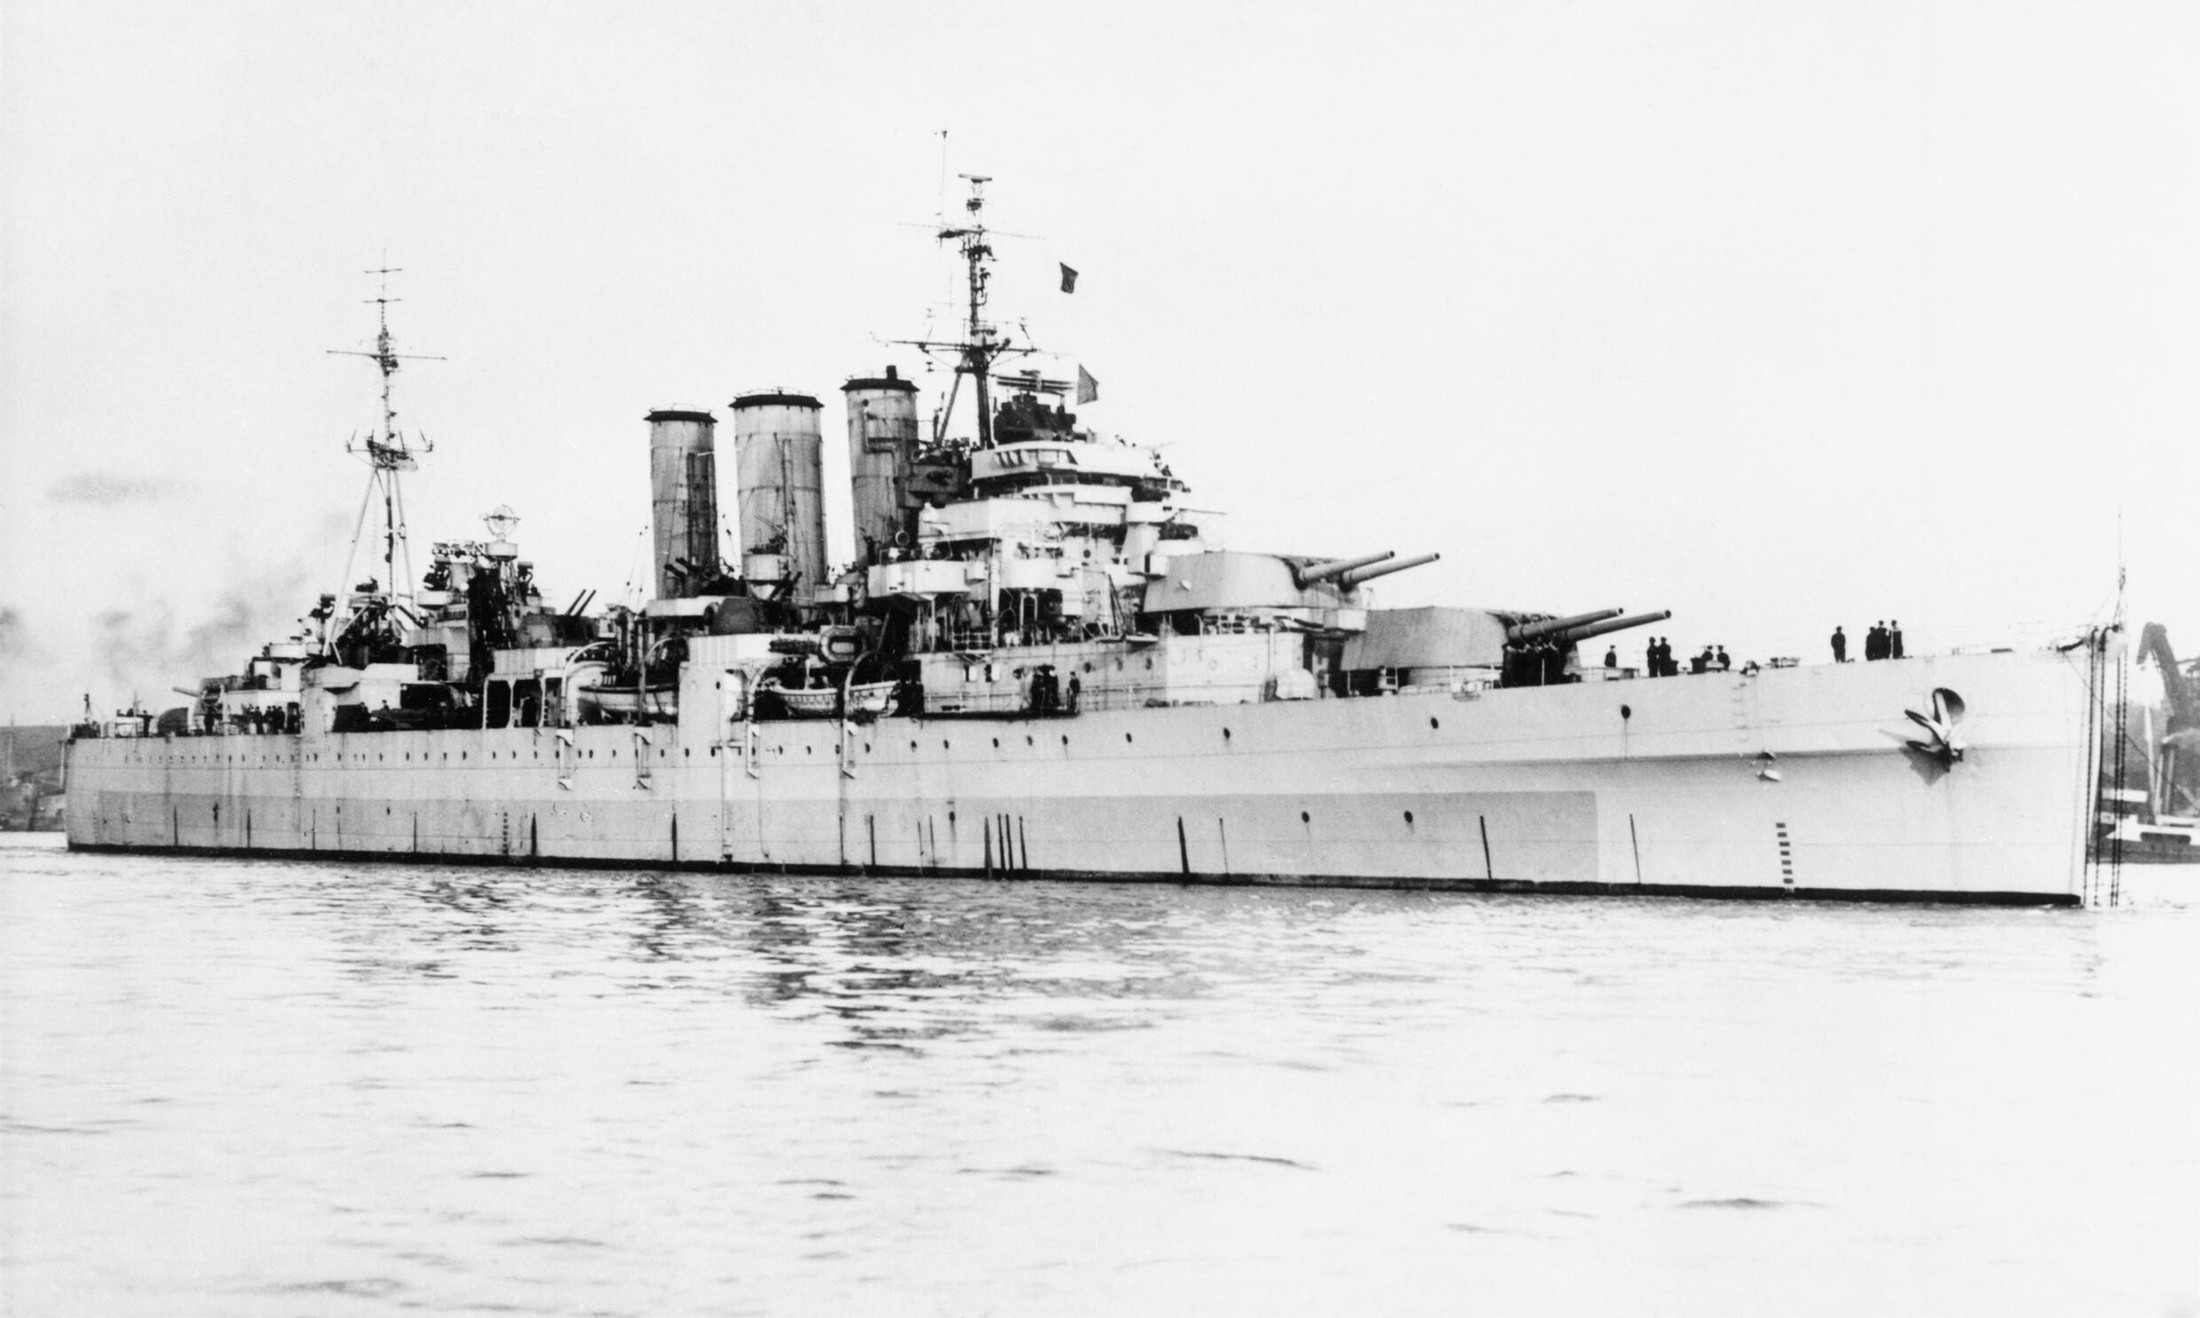


A report that reached the fleet
Norfolk closed the German ships on 23 May and came under Bismarck’s fire. Tovey records her withdrawing behind smoke, with splinters falling aboard. Although Suffolk had made the first sighting, Norfolk’s report was the first to reach Tovey’s battlefleet. Discovery and successful communication were separate steps in bringing British forces together. B11
Wake-Walker’s choice
Rear-Admiral Wake-Walker directed the shadowing force from Norfolk. After Hood’s destruction, he had to judge the condition of Prince of Wales and the risks to his cruisers. His assessment described the battleship’s damage and gun difficulties, and the exposure of the 8-inch cruisers if they approached closely enough for effective fire. Preserving contact offered a way to bring stronger forces into action. B11
Norfolk and Suffolk did not have interchangeable radar capabilities. In explaining the arrangements before contact was lost, Tovey describes Norfolk’s useful radar coverage as limited to bearings near the bow. Turning away could therefore break her contact. Equipment, position and manoeuvre all affected what each ship could contribute. B11
Back within sight
On 27 May, Norfolk was again shadowing Bismarck. Her position provided a visual link for the approaching British battlefleet, and she fired from a flank position during the final action. The cruiser’s role connected reconnaissance with gunfire: helping the heavier ships reach the enemy was itself part of the attack. B11
Follow The Final Battle for the wider action. This profile uses the official printed despatch and avoids assigning a precise radar model, complete armament fit or independently confirmed hit total without the corresponding technical and gunnery records.